Showing posts with label Boykin. Show all posts

Feb 12, 2017

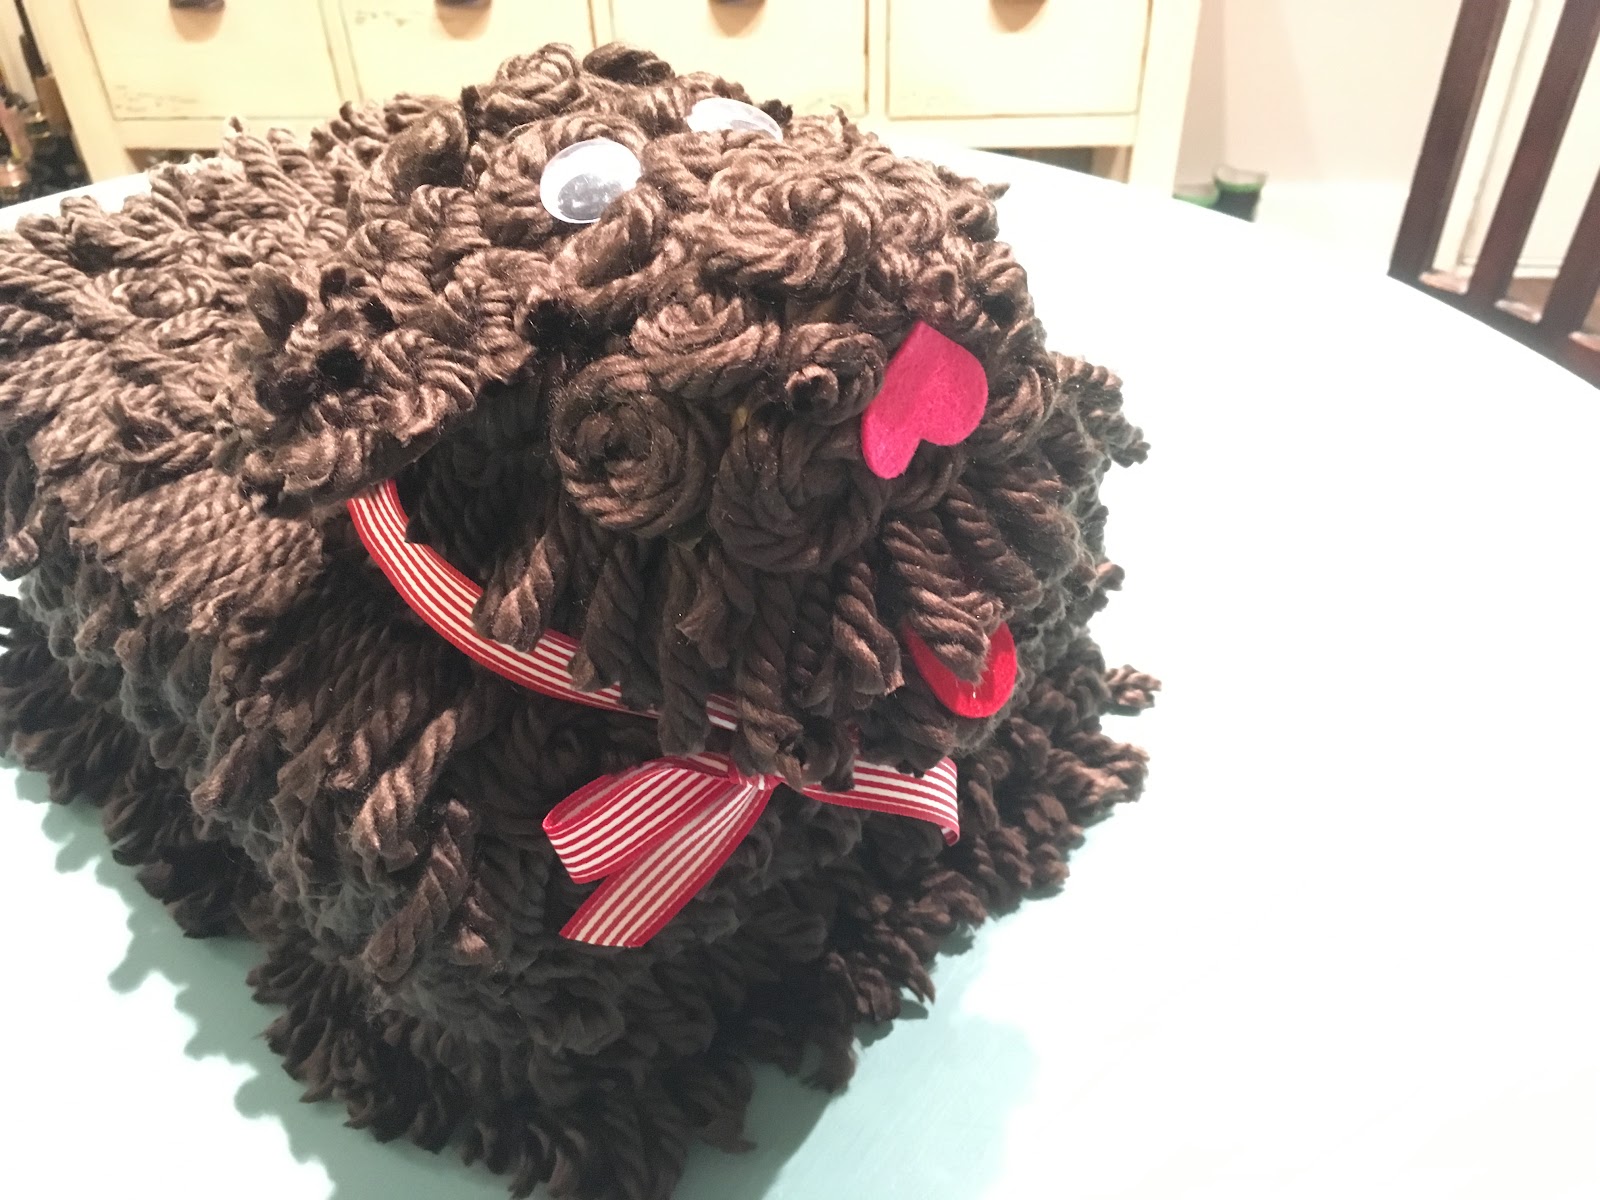
Introducing our 2017 Valentine's Day box

Boykin Spaniel Cute Dog Valentine Box | The Lowcountry Lady

These days, we're often flying by the seat of our pants when it comes to school projects.  It's not unheard of for us to pull something together the morning it is due.  Terrible, I know!  I also know so many mamas who can relate.  Because it's hard to balance the work projects, and the house projects & the school projects.

I have so many memories though, of my mom helping me or my brothers with this or that school project.  Memories of her guiding us through making our vision came to life.

My son happens to love arts & crafts as much as I do (at least for now), so when he wants to create something, I try to help him go big!  The latest project?  The box to collect valentines, of course.  We brainstormed ideas... a dinosaur, a monster, a dog, one of our dogs.  Boykin Spaniel box was the winner.

We found some inspiration by way of the Puppy Dog Valentine Box on Pink Toes and Power Tools.  Of course ours would be brown, need curly hair, and maybe a short cut for the head. Putting ours together looked like this -

Boykin Spaniel Cute Dog Valentine Box | The Lowcountry Lady

Boykin Spaniel Cute Dog Valentine Box | The Lowcountry Lady

Boykin Spaniel Cute Dog Valentine Box | The Lowcountry Lady

Boykin Spaniel Cute Dog Valentine Box | The Lowcountry Lady

Boykin Spaniel Cute Dog Valentine Box | The Lowcountry Lady

Boykin Spaniel Cute Dog Valentine Box | The Lowcountry Lady

Boykin Spaniel Cute Dog Valentine Box | The Lowcountry Lady

Boykin Spaniel Cute Dog Valentine Box | The Lowcountry Lady

Boykin Spaniel Cute Dog Valentine Box | The Lowcountry Lady

Boykin Spaniel Cute Dog Valentine Box | The Lowcountry Lady

Boykin Spaniel Cute Dog Valentine Box | The Lowcountry Lady

Boykin Spaniel Cute Dog Valentine Box | The Lowcountry Lady

Boykin Spaniel Cute Dog Valentine Box | The Lowcountry Lady

Maybe we went a little overboard, but my son sure is proud!  I think it turned out pretty cute!

Boykin Spaniel Cute Dog Valentine Box | The Lowcountry Lady


Sep 15, 2014

A look back to Ellijay, Georgia


A few years ago, we visited Ellijay, Georgia and to this day, it is one of my favorite vacations.  It was so low-key.  Lots of porch sitting, inner tube floating, hot tub going, cooking, eating & watching fireflies fill the night time air.  While I love a trip to a big city for shopping, gourmet restaurants & shows, I really appreciate a relaxing vacation without an agenda.

I'd love to go back to Ellijay.  Maybe next time we'd go in the fall for the infamous Apple Festival.  In the meantime, here a few pictures to remember our oh so very picturesque holiday.


Ellijay, Georgia | The Lowcountry Lady

Ellijay, Georgia | The Lowcountry Lady

Ellijay, Georgia | The Lowcountry Lady

Rope swing in Ellijay, Georgia | The Lowcountry Lady

Ellijay, Georgia | The Lowcountry Lady

Ellijay, Georgia | The Lowcountry Lady

Ellijay, Georgia | The Lowcountry Lady

Jun 3, 2014

Sweet Boykin Spaniels


Boykin Spaniels on the boat | The Lowcountry Lady


Our first puppy, Ellie was born the day before we got married.  I worked from home back during those days and Ellie would sleep on my feet while I spoke to customers or did my research.  Typical "brown dog" Ellie won us over on day one and I can't imagine our lives without here these past several years.


Oakley is equally sweet and 10 times more carefree than any of us.  She wags her entire body if you so much as glance in her direction.  She has become quite the birdwatcher these days.


Here are a few pics of our adored pups-


Boykin Spaniels Boat Dog | The Lowcountry Lady

Boykin Spaniel South Carolina State Dog| The Lowcountry Lady

Boykin Spaniel Puppy | The Lowcountry Lady

Sweet Boykin Spaniel Puppy | The Lowcountry Lady

Cute Boykin Spaniel Puppy | The Lowcountry Lady

Boykin Spaniels | The Lowcountry Lady


Boykin Spaniels | The Lowcountry Lady

Sep 8, 2013

Boykin under a Palmetto Moon sign

Boykin Spaniel under Palmetto Moon on reclaimed wood wall art | The Lowcountry Lady


Anytime I see a sign on reclaimed wood, I'm drawn to it.  I haven't seen one that is just perfect for our house, but had a few ideas.  Well, we recently had to replace a section of our fence and I couldn't let that good "reclaimed" wood go to waste, so...

Time to make me a sign!  I decided on a Boykin Spaniel silhouette and planned to hang it in my little one's room.

Here are a few pictures to remind me of the steps I followed.

How to make Boykin Spaniel under Palmetto Moon on reclaimed wood wall art | The Lowcountry Lady

How to make Boykin Spaniel under Palmetto Moon on reclaimed wood wall art | The Lowcountry Lady

How to make Boykin Spaniel under Palmetto Moon on reclaimed wood wall art | The Lowcountry Lady

How to make Boykin Spaniel under Palmetto Moon on reclaimed wood wall art | The Lowcountry Lady

How to make Boykin Spaniel under Palmetto Moon on reclaimed wood wall art | The Lowcountry Lady

All of the paint that I used was left over from other projects so the cost of this project was $0.  My favorite amount. :)

How to make Boykin Spaniel under Palmetto Moon on reclaimed wood wall art | The Lowcountry Lady

How to make Boykin Spaniel under Palmetto Moon on reclaimed wood wall art | The Lowcountry Lady

I used a projector and traced the image onto the sign.  You could use a stencil or free hand a silhouette if you're super talented.

How to make Boykin Spaniel under Palmetto Moon on reclaimed wood wall art | The Lowcountry Lady

How to make Boykin Spaniel under Palmetto Moon on reclaimed wood wall art | The Lowcountry Lady

How to make Boykin Spaniel under Palmetto Moon on reclaimed wood wall art | The Lowcountry Lady

I can't wait to hang this up!

Sep 15, 2012

Hiding spot for Ellie?

All kids seem to love secret little hiding spots, don't they?  I remember spending all kinds of time putting together make-shift tents or forts when I was younger (I did grow up with two brothers which may have had something to do with it too).

Anyway, I recently saw an idea for a tent that can be thrown over a table on Pinterest and set out to create one for my little guy.


DIY homemade table tent for kids | The Lowcountry Lady


You could definitely use scrap fabric or even old or unused sheets to make one of your own. I didn't have enough so I picked some up from a local fabric store.


Steps to create your own:

1. Determine the length, width and height of your table.

2.  I recommend adding at least 3 inches to your measurements so you'll have enough to sew the seems. I also wanted the fabric to drape on to the floor a little so I added a bit more height to the sides, front & back.


DIY homemade table tent for kids | The Lowcountry Lady


3.  Choose any fabric you like. Since my fort is for a little boy, I kept that in mind when finding my fabric. I also wanted something that would hold up well and that could be washed.


4. I bought brown for the roof, brick red for the walls, and also a small amount of mesh-like fabric for the window. I did have some scrap at home that I decided to use for the trim and backing for the door


5.  Cut out each of your panels.


6. Sew the bottom (part closest to the floor) of your sides, front & back.


7. Determine the size and shape of your door. I opted to create a flap that could be tied open at the top. You could also create more of a slit type door and if you want to get fancy with that, also consider how the fabric on each side of the slit could be tied back. This might be a cuter route for a tent for girls.


8.  Cut the door.


9. If you want to finish the door with trim, you should do that now, otherwise just sew the edge to create a more finished tent.


10.  Sew fabric on the back of the door if you choose.


11. Sew on ribbon or strips of fabric to tie the door open.


12.  Determine the size and shape of windows and cut the fabric out. I did one simple rectangle but you could do squares and even add fabric trim or ribbon to make window panels.


13. If you choose to add mesh fabric to the windows, cut that to size. Sew trim and mesh on to complete the windows.


14.  Sew the front, sides & back panels to the top panel.


15.  Sew the corners shut and you're done!


My little one is fast asleep so I'll have to wait until tomorrow to see how he likes it. In the meantime, Ellie tested it out and loves it!


DIY homemade table tent for kids | The Lowcountry Lady

(updated) My little guy loves it too!


DIY homemade table tent for kids | The Lowcountry Lady