Inside, we keep our charcoal in this 20 gallon Sterlite container. We keep grates and other miscellaneous tools in there, too, but I keep spatulas and tongs in the house.
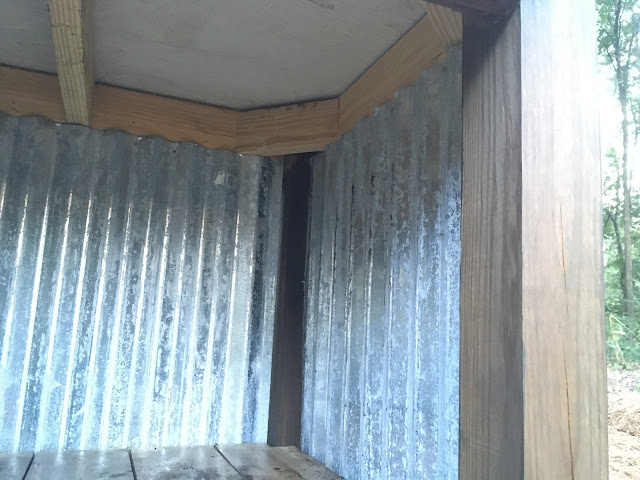
We used corrugated tin from Lowes for the sides of the cabinet. We bought a big sheet and cut it using metal sheers. You could also use tin snips. We screwed that to the frame before installing the boards for the cabinet floor.
We sealed the boards on the bottom of the cabinet with polycrylic to avoid grease from the grates from soaking in and just to make them easier to clean in general.
affiliate links


Hello. First of all, what an awesome plan and pictures! Thank you very much for sharing and being so selfless to help all of us to work from your plans. I, too, am using this design. The only confusion that I have found is the placement and timing of placement of the currugated metal. If I install this before I add the flooring, there are significant gaps. I am inclined to install the decking first and then install the corrugated metal. Any reason why you did not? Thank you
ReplyDeleteHi there! So glad you're finding the plans useful. We thought the cabinet looked a touch more finished by installing the flooring last, but I'd say you could go either way here. There are gaps where the corrugated metal curves out, but this hasn't caused us any problems. Best of luck finishing your table!
DeleteI built the same table. I installed the floor boards first. Then after installing the corrugated metal, I used small trim pieces to help hold them in place at the bottom.
DeleteI’d like to see more detail about the back piece of corrugated metal and the flooring attachment as well. I’m building this table and about to hit that step. Any tips and especially pictures would be great!
ReplyDelete